Integrate with Zapier
Memberful can activate Zapier Triggers when important member events happen, allowing you to create powerful workflows across third-party services.
In this help doc:
- Create an API Key for Zapier.
- Create a Zap.
- Connect to Memberful.
- Check out a few useful Triggers.
- Handling custom fields
Create an API Key for Zapier
- Navigate to Settings → Custom applications in your Memberful dashboard and click Add a new Custom Application.
- Enter a name and click Create Custom Application. We'll be using this key in a later step.
Create a Zap
- Head over to Zapier and click the big Make a Zap! button.
- Type Memberful in the main search box to add it as a Trigger.
- Choose the event you'd like to trigger and click Save + Continue.
Connect to Memberful
If you don't already have Zapier connected to Memberful, now is the time to do that. Click Connect a new account and Zapier will ask for:
- The Memberful API key we created earlier. Copy the key from your Memberful dashboard and paste it into the field.
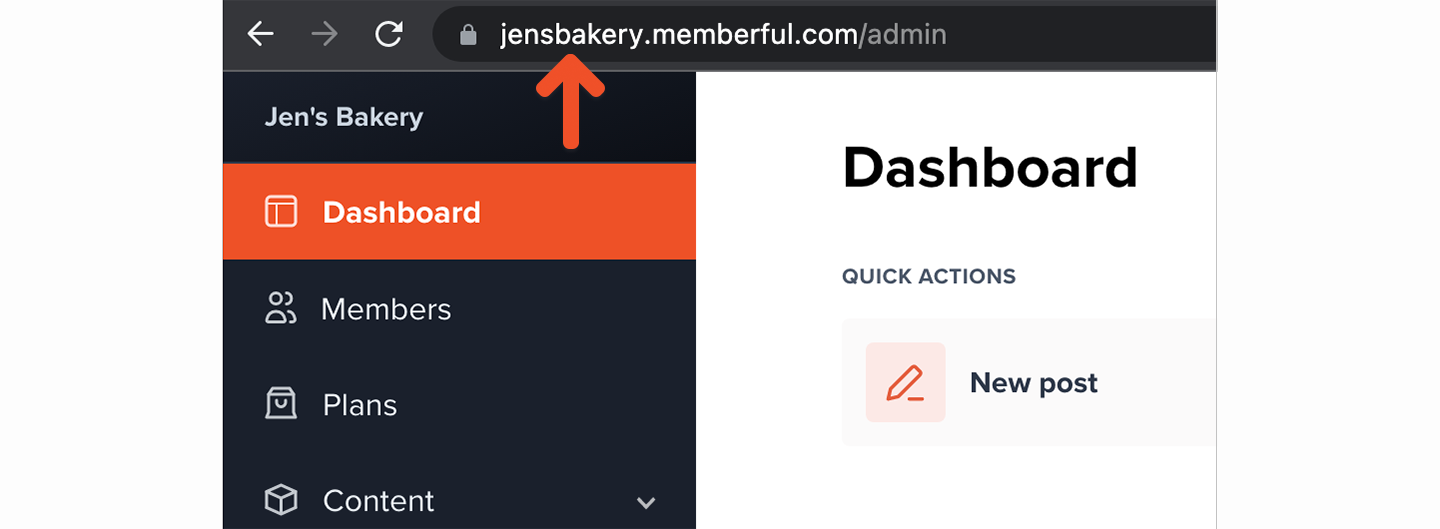
- Your Memberful Account URL subdomain (see below).
Your Memberful Account URL subdomain is the part of your Memberful Account URL between https:// and memberful.com. For example, if your Memberful URL was https://jensbakery.memberful.com, your Account URL subdomain would be jensbakery. Letters only please!
Finally, Zapier will test your Zap. We've covered this for you, so you only have to click test and we'll do the rest.
Please note that we send testing data, not real data, for the Zapier testing. When you enable your Zap it will receive real data.
Useful Triggers
Here are some useful Triggers you can use with Zapier to add, update, and remove your members from your favorite third-party app:
- Subscription Created: When a member purchases a subscription, trigger an action that updates an existing user in your app or adds a new member.
- Subscription Deactivated: When a subscription expires, trigger an action that removes the member from your app or updates their status.
- Subscription Renewed: When a member renews their subscription or a returning members reactivates an old subscription, trigger an action that updates the member or re-adds them to your app.
- Subscription Deleted: If an admin deletes a member’s subscription from the Memberful dashboard, trigger an action that removes the member from your app or updates their status.
- Member Updated: When a member updates their Memberful profile, trigger an action that updates their profile in your app.
- Subscription Updated: If you want to trigger an action in your app when a member changes plans (i.e. upgrades, downgrades, or crossgrades), create a Zap that looks for changes to the
plan_idin the changed section.
Handling Custom Fields
Custom fields are now collected after checkout, which means the value is no longer set when Zaps using the New Member, Subscription Created, or Order Purchased events are triggered. To access custom field values, Zaps must now use the Custom Fields Updated event instead.
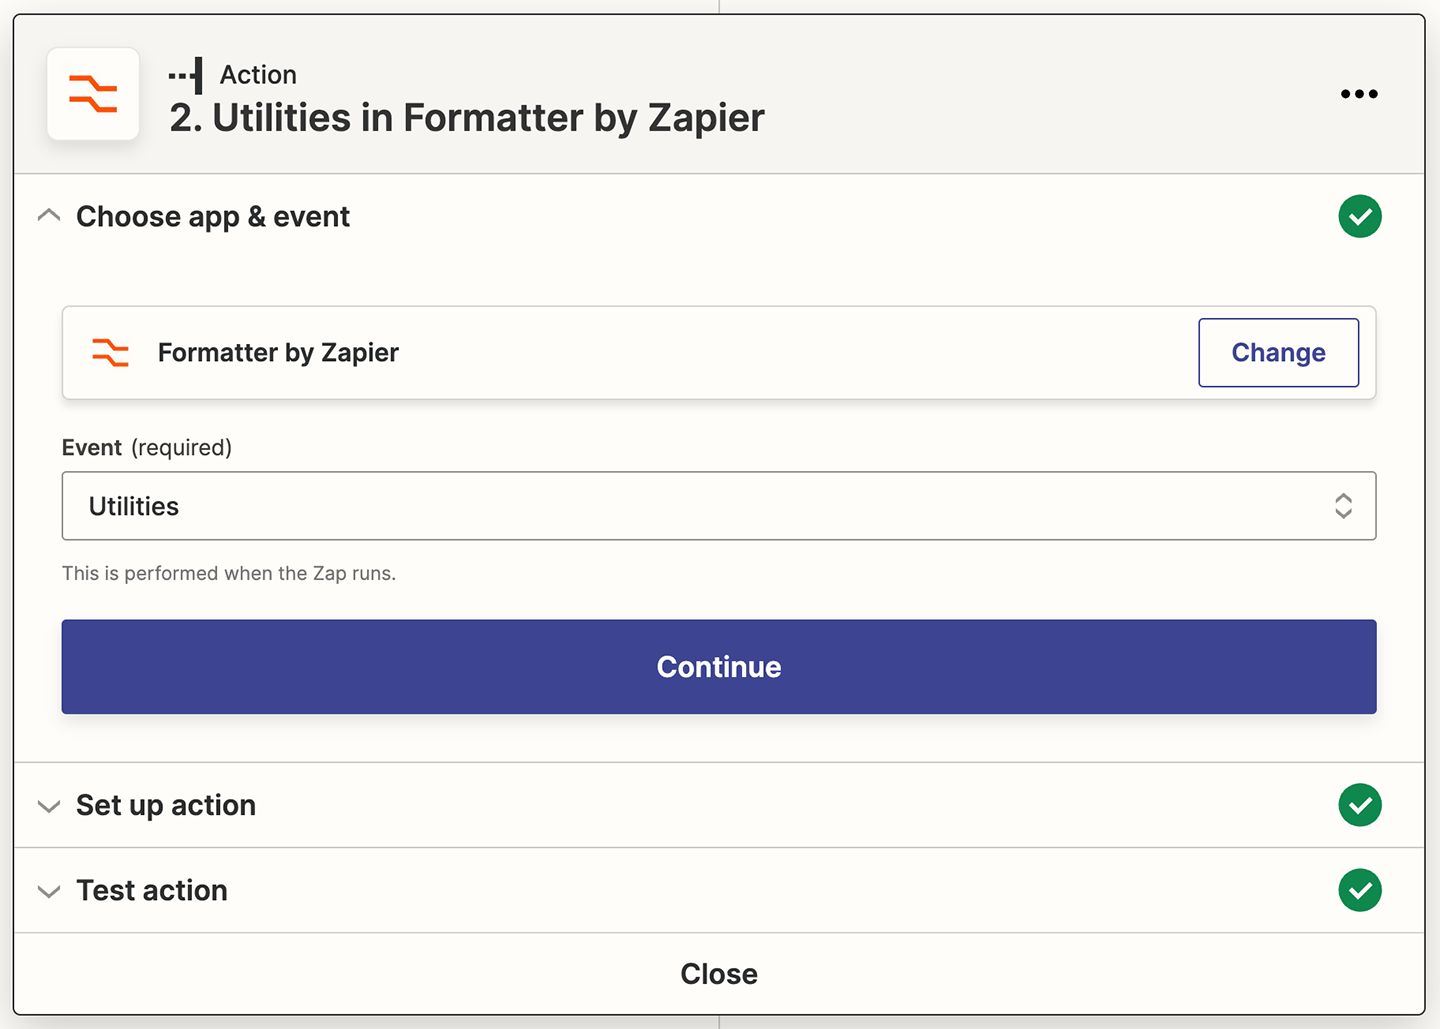
Custom field values currently show up in Zapier as a single field called Custom Fields Values, with each of the values separated by a comma. If you'd like to access the values individually, you can use Zapier's built-in Formatter action to split the values into separate fields.
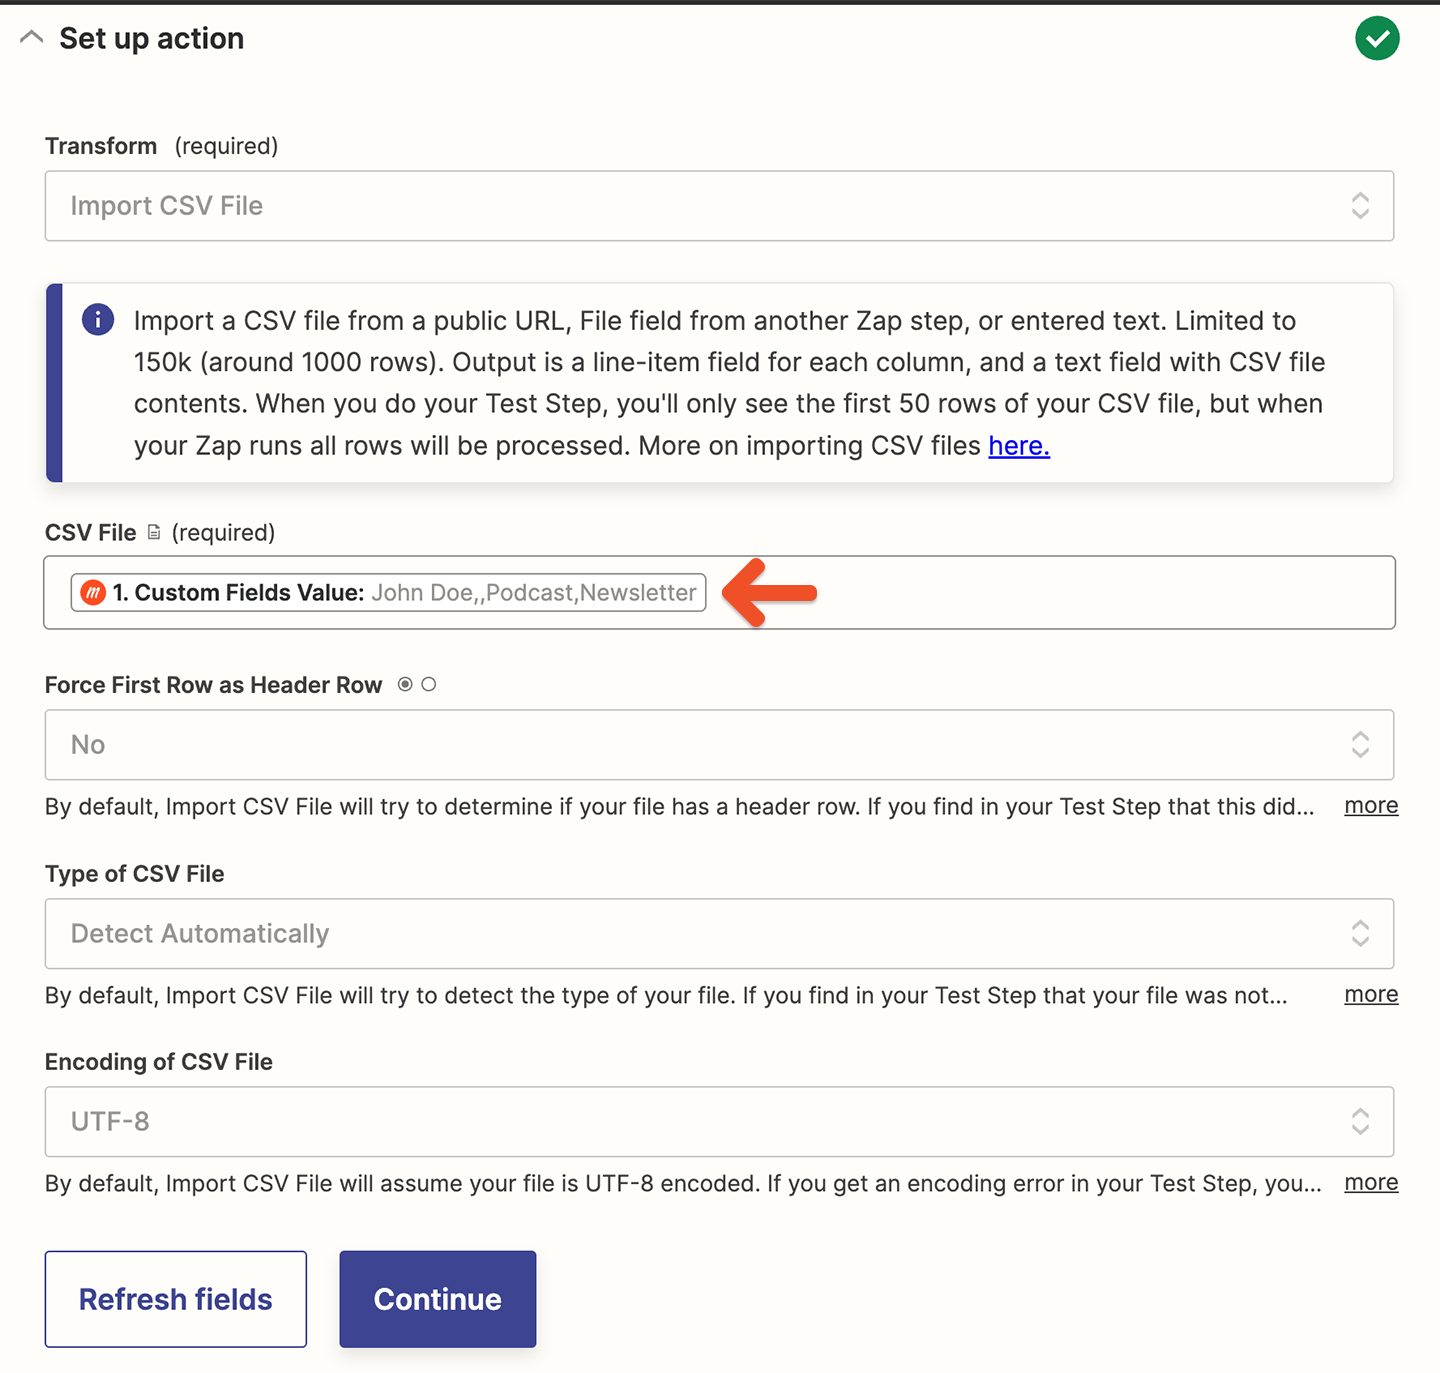
First, add a formatter step and choose the Utilities event.
Choose Custom Fields Value as the CSV File.
After you save that step, whenever you want to use a custom field value, you can select one of the output line items from the Formatter step.
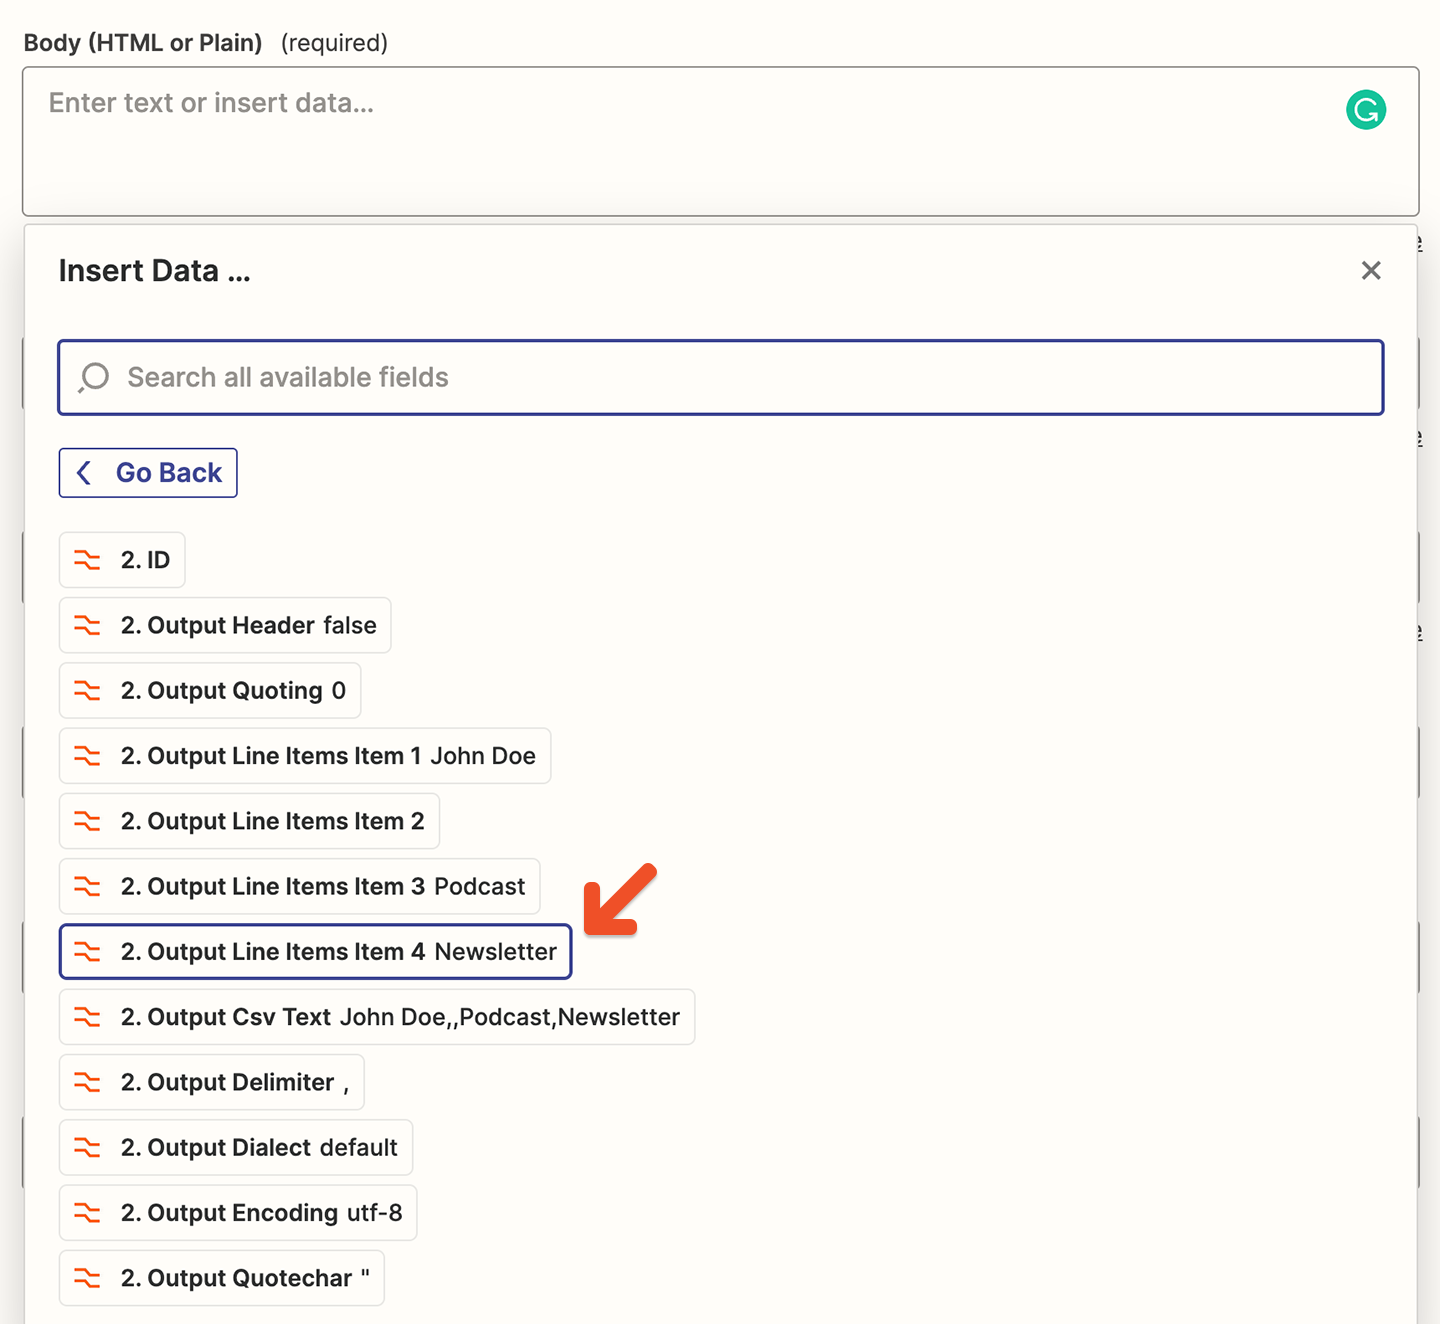
Note that this method has some drawbacks. For example, if your members enter responses that contain commas, the Formatter won't be able to split the values correctly.
Related help docs: